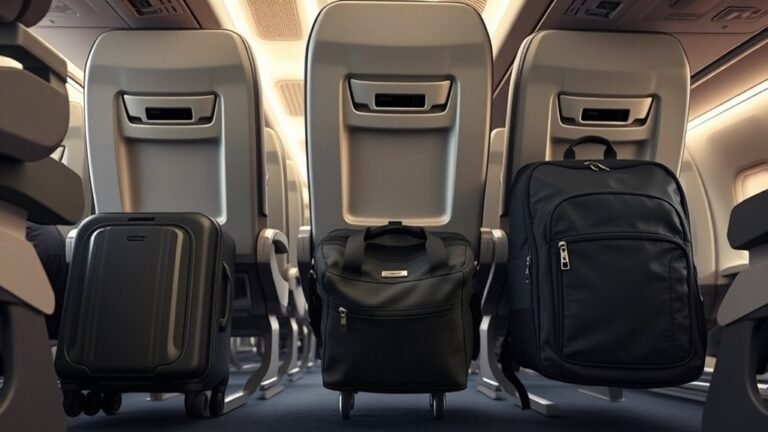
What to Take Out at Tsa
At TSA, take out laptops and large electronics, tablets and e-readers when required, and place small gadgets like cameras or power banks in clear pouches for easy inspection. Remove shoes with thick soles, belts with metal buckles, chunky jewelry, and anything with heavy zippers. Put liquids, gels, and aerosols in a quart-sized clear bag and present medications, baby items, or medical devices separately for declaration. Follow officer instructions—keep moving to speed things up—and learn tips for specific travel situations.
Quick Checklist: What to Remove at TSA
When you approach the security checkpoint, remove anything that slows you down: laptops and large electronics, shoes if the line requires it, belts with metal, jackets, and all liquids in clear quart-sized bags.
Take out tablets, e-readers, and cameras; place them in bins flat and separate from backpacks.
Place tablets, e-readers, and cameras flat in bins, separate from backpacks for quick screening.
Put coins, keys, and watches in pockets before screening or in a small tray.
Pack medications and infant necessities visibly but keep them accessible for inspection.
Remove bulky jewelry and scarves that might trigger alarms.
Keep boarding pass and ID ready.
Reassemble quickly after the scanner so you move on without delay.
Why Removing Items Speeds Up Security
When you take out liquids and gels, electronics and accessories, and belts and outerwear before screening, the X-ray images are clearer. Agents can move you through faster.
You’ll avoid delays from additional inspections or having to repack items at the checkpoint. That small bit of prep saves time for you and everyone behind you.
Liquids And Gels
You’ll be asked to remove liquids and gels because screening machines and officers need clear, unobstructed views of containers to spot prohibited items quickly.
Place bottles, tubes, and travel-size toiletries in a clear quart bag so X-rays show shapes and densities without overlap.
Separate open liquids like duty-free purchases or medical gels and declare them if requested.
Keep containers under 3.4 ounces unless exempt; oversized items slow inspection and may be tested.
Handing a single, organized bag to security speeds lines and reduces manual checks.
Stay ready: remove the bag from carry-on promptly for efficient screening.
Electronics And Accessories
Because electronics create dense, irregular shapes on X-rays, taking them out of your bag helps officers get a clear look fast. Pull laptops, tablets, and large e-readers into their own bin so scanners don’t flag overlapping items.
Place smaller devices—phones, power banks, headphones—separately or in a small pouch for quick inspection. Remove detachable batteries or cases if they obscure internal components.
Keep charging cables tidy to avoid visual clutter. When devices are accessible, agents can clear your lane without opening bags, reducing delays and lowering the chance your belongings get mishandled during secondary checks.
Belts And Outerwear
Although it might seem minor, removing belts and outerwear before screening speeds up the process and prevents alarms. You’ll avoid extra pat-downs and hold-ups by taking off bulky coats, scarves, and jackets before you reach the conveyor.
Slip belts into your carry-on or the bin—metal buckles trigger detectors and slow the line. Lightweight layers like hoodies or cardigans can usually stay on, but follow signage and agent instructions.
When you prepare in advance, you move smoothly through security, reduce stress for yourself and others, and help officers focus on real threats instead of clearing routine alarms.
Laptops & Large Electronics: TSA Rules
You should keep laptops in your carry‑on so they’re easy to access for screening.
Larger electronics like tablets or gaming consoles may need to come out separately, depending on the checkpoint.
Follow the TSA agent’s instructions to speed the process and avoid delays.
Laptops In Carry‑On
Wondering whether you need to remove your laptop at TSA screening? You usually will—place laptops in a bin separate from your carry-on for X-ray clarity.
Remove tablets larger than a phone but smaller than a laptop only if an officer asks.
If you use a TSA PreCheck lane, you can often leave your laptop inside your bag; follow lane signage and officer instructions.
Keep your laptop easily accessible in a top compartment or dedicated sleeve to speed things up.
Power it on if asked; a blank or off device may prompt additional inspection.
Secure cords and accessories separately to avoid delays.
Large Electronics Screening
When going through TSA screening, you’ll usually need to remove laptops and other large electronics from your carry-on so X-ray machines can get a clear image. Officers may also ask you to power on devices to verify functionality. You should place devices in a dedicated bin, keep chargers separate, and be prepared to demonstrate power.
Follow TSA staff instructions and arrive early if you have multiple items. If a device won’t power on, additional inspection may be required.
- Pack larger electronics on top for easy removal.
- Label fragile items and secure loose parts.
- Know exceptions for TSA PreCheck and medical equipment.
Tablets & E-Readers: When to Remove
Although TSA rules vary slightly by checkpoint, you’ll generally need to remove tablets and e-readers from your bag and place them in a bin for X-ray screening if they’re larger than a smartphone; smaller devices can usually stay packed. You should have devices easily accessible, powered on if possible, and separated from cases with thick padding. Roll-through bins are common, so place devices flat. If an agent asks, comply promptly. Consider placing chargers and cables in a separate small bag to speed inspection.
| Device | Size guideline | Action |
|---|---|---|
| Tablet | > smartphone | Remove |
| E-reader | > smartphone | Remove |
| Mini tablet | ~phone | May stay |
Smartphones & Small Electronics: Remove or Not?
You’ll usually leave smartphones and other small gadgets in your bag unless an officer asks to screen them separately, so be ready to hand them over quickly.
Remember that laptops follow different rules because of size, but phones can still be removed for closer inspection.
Pack chargers and tiny electronics in an accessible pocket to speed things up if they’re requested.
Phone Screening Expectations
Wondering whether you should pull your smartphone or small gadgets out for screening? You’ll usually keep phones in your bag unless an agent asks otherwise.
Expect quick visual checks or X-ray screening; agents may request removal if items obscure other objects or trigger alarms.
- If asked, hand devices out neatly and follow instructions.
- Place phones in bins separately when requested; chargers and cases can stay with the device unless directed.
- Be ready to power on devices if screening requires verification.
Stay polite, responsive, and efficient to speed the process and avoid delays.
Laptop Versus Phone
When you’re deciding whether to pull out a laptop or keep your phone in your bag, remember airports treat larger electronics differently: laptops generally need to go in a separate bin for X‑ray screening, while phones and small gadgets usually stay packed unless they obscure other items or trigger alarms.
You should remove laptops, tablets, and oversized e-readers to speed screening and avoid surprises. Keep phones, earbuds, and chargers stowed unless an agent asks otherwise.
If your bag is densely packed or has a protective sleeve that hides shapes, take smaller devices out on request. Follow officer directions; it’s faster and calmer.
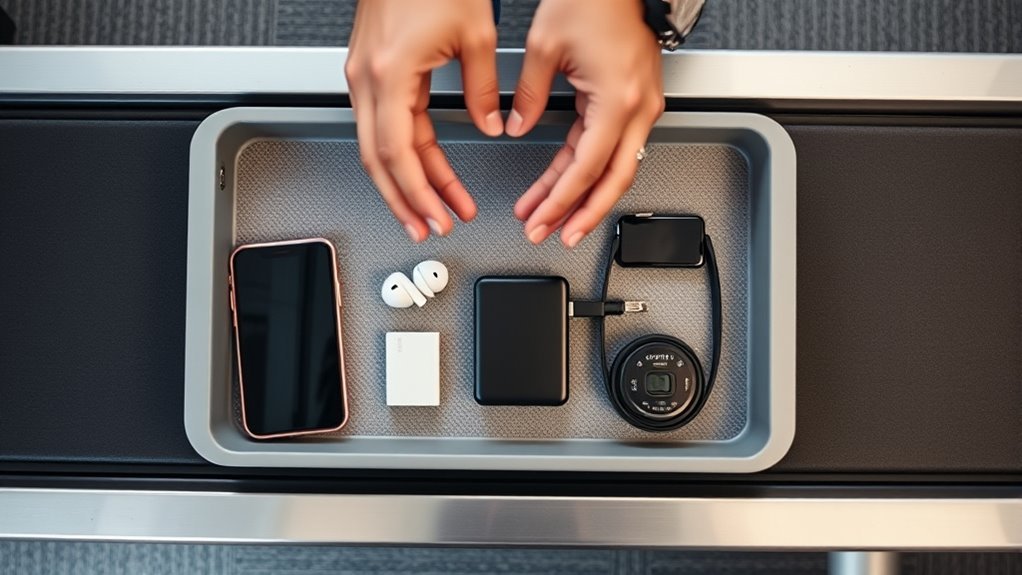
Packing Small Electronics
Most small electronics—smartphones, earbuds, power banks, and tiny cameras—can stay in your bag through security unless they block other items or set off alarms. You should pack them where TSA agents can quickly spot and access them if asked. Keep cords organized and chargers tucked so nothing looks suspicious. Remove items only if screening requests it.
- Place bulkier devices near the top of carry-on for easy retrieval.
- Use a pouch for tiny gadgets to prevent scatter and false alarms.
- Label power banks and keep batteries accessible for inspection.
Other Electronics (Cameras, Chargers)
Pack any cameras, batteries, and chargers where you can easily reach them during screening, since TSA may ask you to remove larger devices for separate X-ray inspection.
Keep smaller items like USB drives and earbuds in a clear pouch or a dedicated pocket so you can slide them through without digging.
Remove camera bodies and lenses from padded cases when requested; leave batteries in carry-on but carry spares in protected cases to prevent shorting.
Label chargers and cords to speed identification.
If you’re carrying unusual equipment or multiple components, tell the TSA officer before screening to avoid delays or handling damage.
Liquids & Gels: The 3-1-1 Rule
You’ll need to pack liquids and gels in clear, quart‑sized bags so security can see what’s inside. Check that each container is 3.4 ounces (100 mL) or smaller and keep the bag accessible.
At screening, take the clear bag out of your carry‑on and place it in a bin.
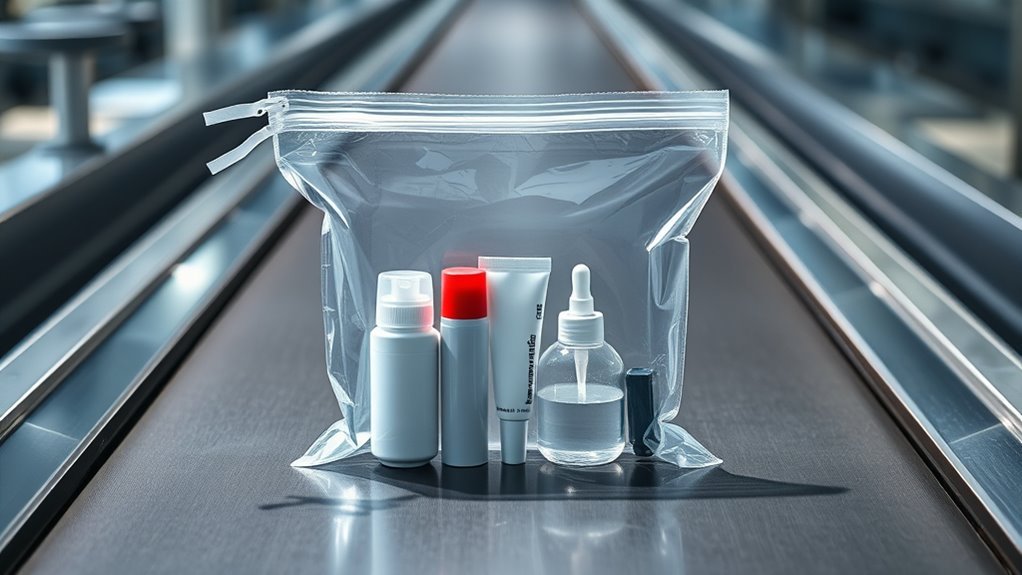
Pack In Clear Bags
When you bring liquids, gels, or aerosols through security, put them in a single clear, resealable quart-sized bag so TSA agents can quickly verify they meet the 3-1-1 rule: containers of 3.4 ounces (100 milliliters) or less, one bag per passenger.
Pack thoughtfully: place frequently inspected items near the top and keep chargers or electronics separate. Compress the bag to save space and prevent spills. Present it separately at the checkpoint to speed screening.
Follow these quick steps:
- Consolidate all small containers into one clear bag.
- Remove the bag from your carry-on for inspection.
- Replace the bag after screening.
Measure Container Sizes
How big are your toiletry bottles? You’ll need to check each one: TSA limits liquids to 3.4 ounces (100 ml) per container, fitting all into a single quart-sized clear bag. Measure with a marker or check the label so nothing surprises you at security. Arrange smaller bottles together and discard oversized items or switch to travel sizes. Keep the bag accessible but packed neatly to speed screening.
| Container | Action |
|---|---|
| 3.4 oz or less | Keep in bag |
| Over 3.4 oz | Replace or discard |
| Multiple small | Consolidate |
| Unlabeled | Measure or transfer |
Remove From Carry‑On
Because liquids and gels slow the line if they’re not organized, take them out of your carry-on and place them in a single quart‑sized clear bag for inspection. You’ll speed screening by following the 3-1-1 rule and keeping items visible.
Pack only travel-size containers (3.4 oz/100 ml or less), fit them in one bag, and present the bag separately.
Remember to:
- Remove toiletries and place the bag on top of carry-on.
- Consolidate creams and gels into permitted containers.
- Declare medications or breast milk to the officer.
Doing this keeps the process smooth and avoids delays for you and others.
Organize Your Liquids Bag for Inspection
If you want your liquids bag to glide through screening, lay out your toiletries so each clear, quart-sized bag is easy to spot and unzip at the checkpoint. Arrange bottles upright, caps tightened, and group similar items together—skincare, haircare, and cosmetics—so you can pull one bag without rifling.
Use smaller containers for frequent items to reduce spill risk and keep duplicates minimal. Place gels and aerosols where they won’t press against seams.
Keep receipts or travel-size labels if asked to verify contents. When packing, test the zipper and transparency; an orderly bag gets you through faster.
Medications & Medical Liquids: Exemptions
If you’re carrying prescription meds or medical liquids, know they’re treated differently than your toiletries.
You can bring larger quantities of prescribed liquid medications, but be ready to declare them and have supporting labels or documentation.
Also remember that over-the-counter liquids still generally follow the 3-1-1 rule unless a TSA officer exempts them for medical need.
Prescription Medication Rules
When you’re traveling through TSA checkpoints, know that prescription medications are exempt from the 3.4-ounce (100 mL) liquid rule and can be carried in reasonable quantities beyond that limit; you should still follow sensible packing and screening practices.
Carry prescriptions in original labeled containers when possible, and bring documentation for controlled substances.
At security, declare medications to the officer and place them in a separate bin if requested.
Consider these steps:
- Pack medications accessible in carry-on and notify TSA.
- Keep copies of prescriptions or physician notes.
- Label containers and bring only what you need for the trip.
Liquid Medication Limits
Many travelers carry medications that exceed the 3.4-ounce limit, and TSA allows medically necessary liquids, gels, and aerosols in reasonable quantities for your trip.
You should separate these items from carry-on screening and declare them at the checkpoint. Pack bottles, inhalers, insulin, and liquid vitamins clearly; keep originals when possible and bring a prescription or note from your clinician to speed inspection.
TSA may test substances; be ready for additional screening. Labeling helps avoid delays, and refrigerated meds need approved coolers but still go through checkpoint.
Know airline rules for excess quantities to prevent surprises.
Baby Formula & Breast Milk Rules
Because security officers know infants need feedings, you can bring formula, breast milk, and juice through TSA checkpoints even in quantities larger than 3.4 ounces; just separate them from your carry-on and tell the officer during screening so they can inspect them by X-ray or alternative means.
TSA allows formula, breast milk, and juice over 3.4 oz—separate and declare them for inspection at screening.
You should:
- Present bottles and containers separately for inspection.
- Declare any prepared formula or frozen breast milk up front.
- Expect additional screening; be ready to open containers or undergo visual checks.
Keep cooler bags accessible, label expressed milk if possible, and stay calm—officers follow procedures to let you travel with baby supplies.
Powders & Dry Goods: Removal Rules
If you’re carrying powders or other dry goods, be ready to remove containers larger than 12 ounces (350 mL) from your carry-on for separate screening—this includes items like protein powder, powdered milk, spices, and bulk baking ingredients.
Place smaller amounts in your bag; they usually don’t require removal but may be subject to additional screening. Pack powders in clear, labeled containers to speed inspection and avoid loose bags that spill.
Declare any large or unusual powders to the TSA officer when prompted. If a powder triggers concern, expect testing or opening; cooperate and allow screening to proceed to avoid delays.
Food & Snacks: What to Pack or Pull Out
When you pack snacks for a flight, prioritize items that are solid, well-sealed, and easy to unwrap so security screening and inflight eating go smoothly. You’ll want to separate anything messy or liquid-like to avoid delays. Keep packages visible in your carry-on so agents can inspect without unwrapping everything.
Consider portioning homemade items into clear bags and labeling them. If an item seems ambiguous, be ready to pull it out.
- Granola bars, nuts, dried fruit
- Sealed sandwiches or wraps in clear bags
- Fruit (whole apples, bananas) rather than cut pieces
Outerwear: Coats, Jackets, Sweaters
Heading to security with a bulky coat or sweater? You’ll usually need to remove heavy outerwear—coats, parkas, fleece jackets—and place them in a bin for X-ray screening.
Lightweight sweaters or cardigans can often stay on if you’ll easily pass through the metal detector and pockets are empty, but be ready to take them off if prompted.
Remove items with large metal pieces, heavy zippers, or bulky decorations.
Keep a compact layer handy for the gate so you’re not cold after reboarding.
Fold coats neatly into a bin; tuck scarves and gloves into carry-ons unless asked to separate them.
Shoes: Which Stay On, Which Go in the Bin
Although you can usually keep slip-ons, sandals with minimal hardware, and low-profile sneakers on, you’ll need to remove bulky boots, high-tops, or shoes with thick soles and metal parts and place them in a bin for X-ray screening.
You’ll want to streamline the process: remove footwear that might hide prohibited items or trigger alarms. Pack fragile shoes or valuables in carry-on.
When in doubt, take them off.
- Bulky boots and high-tops — bin
- Athletic shoes with thick soles or metal — bin
- Slip-ons, simple sandals, low-profile sneakers — usually stay on
Belts, Watches & Metal Accessories
Because metal can trigger the metal detectors, you should remove belts with metal buckles, watches, and chunky jewelry before you step through the scanner and place them in a bin for X-ray screening.
Keep small metal items like keychains, coins, and thin bracelets in pockets you’ll empty into the bin.
If you wear a metal-reinforced undergarment or orthopedic device, tell the officer—donning gloves, they’ll advise screening options.
Use a carry-on pouch to collect accessories quickly after screening.
For contact lenses and nonmetallic eyewear, you can usually leave them on; when in doubt, follow officer instructions.
Hats, Scarves & Headwear Expectations
After you’ve emptied belts and jewelry into a bin, remember headwear can also affect screening: you’ll usually be asked to remove hats, scarves, and bulky head coverings so TSA officers can get a clear X-ray and visual check.
You’ll step forward, loosen or remove coverings, and place them in a bin unless exempt for medical or religious reasons. Follow officer direction to speed the line.
- Remove hats and heavy scarves.
- Keep lightweight headbands unless flagged.
- Declare religious or medical headwear for private screening.
Stay cooperative, secure items, and put them back after you clear security.
Eyeglasses & Sunglasses at Screening
When you approach the checkpoint, keep your eyeglasses and sunglasses on unless a TSA officer asks you to remove them for a closer look or a swab—this speeds screening and avoids fumbling for cases.
You’ll usually keep them on through the walk-through metal detector or body scanner. If asked to remove them, place them directly in a bin or hand them to an officer to avoid dropping or scratching.
Keep cases and cleaning cloths with your carry-on; they typically don’t need separate screening.
If your frames trigger an alarm, follow the officer’s instructions for a quick visual or pat-down inspection.
Prosthetics, Mobility Aids & Screening
If you use a prosthetic or mobility aid, tell the TSA officer as you step up to the checkpoint so they can guide you through the appropriate screening options. You’ll usually keep devices on; officers may perform a pat-down or swab for explosives. Ask for private screening if you prefer. Be prepared to demonstrate functionality if requested.
- Request alternative screening for implants or prosthetics that set off alarms.
- Use a companion or wheelchair escort when needed; staff can assist with guidance.
- Keep documentation handy only if it helps explain complex devices, though it’s not required.
Carry-On vs. Personal Item: What to Keep Accessible
Decide what stays in your carry-on versus your personal item so you can reach things quickly at the checkpoint.
Keep essentials like medications and a change of clothes in your carry-on.
Valuables such as electronics and jewelry should be in your personal item.
Travel documents should be in an easy-to-reach pocket.
That way you’ll move through security smoothly and won’t scramble for important items.
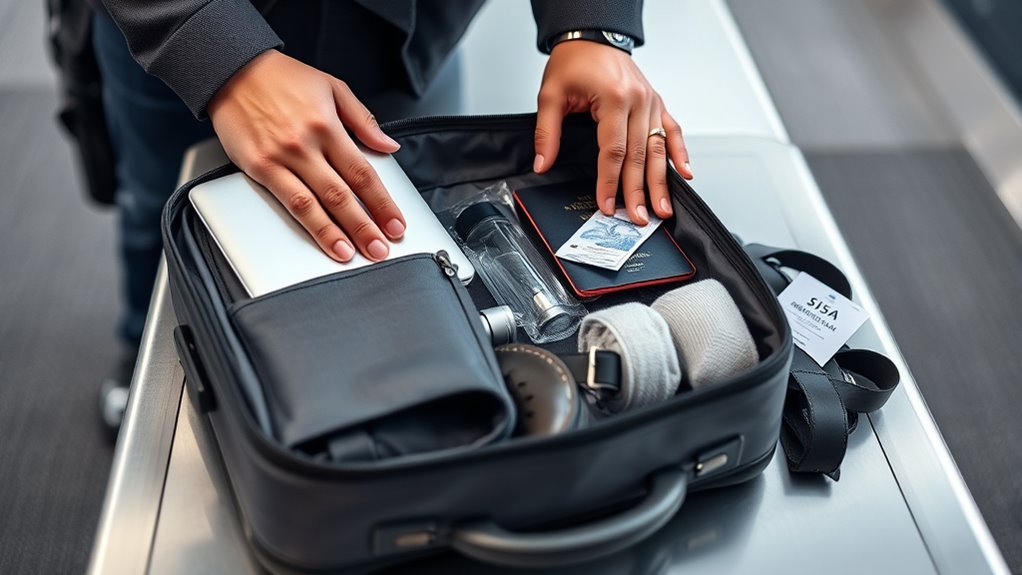
Essentials In Your Carry‑On
Although you can carry a lot onboard, you’ll want to separate items between your carry-on and personal item so the things you need most are always within reach—passport, boarding pass, medications, phone and charger, a slim toiletry pouch for liquids under 3.4 oz, and a change of clothes or essentials in case of delays.
Pack heavier, bulkier items in your carry-on and keep quick-access things in your personal item. Consider organization and security when deciding placement.
- Laptop and charger for work or entertainment.
- Medications and a small first-aid kit.
- Extra socks, underwear, and a compact toiletry pouch.
Valuables In Personal Item
You’ll want to keep your most valuable items in your personal item where they’re within arm’s reach and under your watch—passport, cash, credit cards, jewelry, small electronics like phones and earbuds, and any irreplaceable documents.
Use organized pockets or small pouches so you can reach items quickly without rifling.
Keep electronics charged and accessible for screening or in-flight use.
Store medication and sentimental items close to you, not tucked deep in checked or large carry bags.
If you’ll switch bags, transfer valuables into the personal item before heading to the checkpoint to avoid last-minute scrambling.
Easy‑Reach Travel Documents
When going through the airport, keep items you need immediately—passport, boarding pass, visa paperwork, and any customs forms—within easy reach so you don’t fumble at checkpoints.
Organize them between your carry-on and personal item to balance access and security. You should stash frequently used documents in an external pocket of your personal item and heavier backups in the carry-on. Decide based on frequency of use and risk of loss.
- Put current passport and boarding pass in your personal item pocket.
- Store spare copies and visas in the carry-on.
- Keep pen and customs forms where you can grab them quickly.
Packing Hacks: Arrange Your Bag to Minimize Removals
If you pack with purpose, you’ll breeze through TSA checkpoints by keeping the items agents need to inspect easy to access. Place liquids in a clear quart bag at the top of a carry‑on pocket so you can pull them out quickly.
Stash electronics in a single, easily reachable compartment to avoid fishing them out individually.
Keep shoes and bulky outerwear at the bottom or in a separate bag to minimize handling.
Use packing cubes to group similar items and reduce rummaging.
Label pockets for chargers, toiletries, and medications so you and agents can spot necessities fast.
TSA PreCheck: How Screening Changes
With TSA PreCheck, you can usually keep your shoes, belt, and light jacket on as you move through security.
You’ll still need to remove liquids that exceed the 3-1-1 limits or any large toiletry bags for separate screening.
Knowing what stays on and what comes out will speed you through the line.
What You Keep On
Although PreCheck speeds up screening, it also changes what you keep on and how you move through the checkpoint. You’ll usually leave shoes, belts, and light jackets on, and you’ll walk through a dedicated lane without removing laptops or compliant liquids from carry-ons.
Expect faster flow, but stay ready to follow an officer’s instructions.
- Shoes, belts, light jackets — keep them on unless asked otherwise.
- Laptops and 3-1-1 bags — generally stay in your bag in PreCheck lanes.
- Be prepared — random checks still happen; follow directions promptly.
Stay calm, move steadily, and don’t assume immunity.
Still Remove Liquids
Even in PreCheck lanes you’ll still need to follow the 3-1-1 liquids rule: pack liquids, gels, and aerosols in containers 3.4 ounces (100 ml) or smaller, fit them into a single clear quart-sized bag, and place that bag where an officer asks.
PreCheck speeds shoes and laptops clearance, but liquids remain restricted for all.
Keep toiletries, sunscreen, and duty-free purchases organized so you can hand the bag promptly when directed.
If you need larger medicines or breast milk, declare them for inspection.
Being ready with your quart bag keeps the line moving and avoids delays for you and others.
Packing Tools That Speed TSA Checks
Think about a slim set of tools that’ll make TSA lines faster and less stressful: clear quart-size bags, a dedicated electronics pouch, and a compact toiletry kit that meets liquid rules. You’ll move quicker when items are organized and visible.
Use labeled pouches so agents see contents without rifling. Arrange chargers and cords in one pouch to remove at once. Keep medications and travel documents accessible. Empty pockets before screening.
Fold small metal items into a pouch to avoid bins. Practice packing once so you know where everything is.
- Clear quart bag
- Electronics pouch
- Compact toiletry kit
Common Items That Confuse Travelers
You’ll want to know which liquids in your carry-on need to be pulled out and which can stay packed.
Keep your electronics and chargers accessible so you can place them in bins quickly at the checkpoint. Clearing these items ahead of time speeds the whole screening process.
Liquids In Carry-On
Because TSA limits liquids in carry-on to 3.4 ounces (100 mL) per container and a single quart-sized bag, you’ll need to check common items that travelers often forget about—like contact solution, sunscreen, hand sanitizer, and duty-free perfume—so they don’t slow you down at the checkpoint.
Pack or declare liquids and separate gels in the clear bag. Remember sealed duty-free items may need screening. When in doubt, move questionable bottles to checked luggage or buy travel-sized versions.
- Check: medications, baby formula, breast milk
- Bag: toiletries in labeled quart bag
- Ask: TSA agent for guidance
Electronics And Chargers
When you go through security, pull out laptops, tablets, and large electronics so they can be screened separately—this speeds the line and prevents surprises. Remove e-readers, game consoles, and cameras too if requested.
Keep chargers, power banks, and cables accessible; small electronics may stay in your bag but might be inspected. Note: spare lithium batteries and most power banks must go in carry-on, not checked luggage.
Place items in bins neatly, with cords tucked to avoid misreads. If an item stays powered on, leave it charged and able to power up for inspection upon officer request.
What Triggers Enhanced Pat-Downs or Secondary Screening?
If an alarm goes off, you may be asked to undergo an enhanced pat‑down or secondary screening so agents can clear whatever set off the detector. That could happen for a few common reasons: unusual items, signal anomalies, or random checks.
You’ll be led aside, screened by same‑gender personnel, and given options for private inspection.
- Metal or dense materials in clothing or shoes triggering the metal detector.
- Electronics, dense cases, or gels showing up on X‑ray requiring hands‑on inspection.
- Random selection or unresolved anomalies from the walk‑through that need manual clearing.
International Lines: How Rules Differ Abroad
Rules at foreign security checkpoints can feel familiar but often work differently, so expect variations you won’t see at U.S. airports.
You’ll find countries with stricter liquid limits, mandatory shoe or belt removal, or officers asking to power on devices.
Follow signage and local staff instructions—politeness speeds things up.
Keep passports and boarding passes handy; some lines separate nationals and foreigners.
Pack medications and baby food with labels and declarations.
Be ready for random bag checks and different rules about duty-free items.
If unsure, ask before you reach the scanner to avoid delays and potential confiscation.
Big Electronics (Laptops, Cameras): Extra Screening
Because large electronics can hide components that scanners flag, expect to pull laptops, tablets, and sometimes cameras out of their bags for separate x-ray or manual inspection. You’ll be asked to place devices in bins or on the inspection table; remove cases and cords to speed the process. Stay calm, follow instructions, and keep receipts or serial numbers handy if agents request verification.
Expect to remove laptops, tablets, and cameras for separate inspection—remove cases, cords, and stay calm for quicker screening.
- Remove devices from padded sleeves.
- Place smaller cameras or batteries in a separate bin.
- Keep chargers organized to avoid tangles that slow screening.
This routine keeps lines moving and minimizes hassles.
Duty-Free Liquids & Sealed Purchases
When you bring duty‑free liquids or sealed purchases through TSA, keep their original, tamper‑evident packaging and your receipt handy so agents can quickly verify they meet the 3-1-1 or international carry-on exceptions.
You’ll place eligible items in your carry‑on or present them separately if asked. For domestic flights, confirm containers fit inside a single quart‑size clear bag and each is 3.4 ounces (100 ml) or less unless purchased after security in a secure, sealed bag with receipt.
For international transfers, keep sealed bags intact and receipts accessible to show purchase time and airport. Be ready to show items on request.
If TSA Flags an Item You Thought Was Allowed
- Clarify why the item was flagged and request a brief explanation.
- Choose the practical option: check it, dispose of it, or accept inspection.
- If confused, ask how to retrieve or document the item later.
Document interactions if needed.
Preparing for Busy Travel Days
If you’re traveling on a busy day, plan and pack with extra time and fewer carry-ons so you can move through security without stress. Check airport alerts and arrive earlier than usual; long lines happen unexpectedly.
Wear shoes and clothing that are easy to remove and avoid complicated belts or jewelry. Keep electronics and liquids accessible in a single bin or pouch so you can quickly place them on the conveyor.
Know which items must come out, and keep passports and boarding passes handy. Stay calm, cooperate with officers, and be ready to repack efficiently after screening to keep your trip on schedule.
Printable TSA Checklist for Your Phone
So you can breeze through security, create a simple printable TSA checklist on your phone that lists items you must remove or present—laptop, liquids in a clear quart-sized bag, shoes (if required), belts, jackets, and large electronics—plus reminders for passports, boarding passes, and medications.
Save it as a PDF or image so it prints cleanly at kiosks or home.
Keep categories short: documents, electronics, and carry-ons.
Update before each trip for local rules.
Use bold headings and checkboxes for quick scanning.
Print one copy and keep a digital backup to avoid last-minute scrambling.
- Documents
- Electronics
- Carry-ons
Traveler Scenarios: Business, Family, Medical
When you travel for business, with kids, or because of medical needs, your TSA checklist should change to match priorities—streamline tech and documents for work trips, pack snacks and quick-access items for families, and flag meds and medical devices so screening goes smoothly.
Tailor your TSA checklist—prioritize tech and docs for work, snacks and quick-access items for families, and meds for medical travel.
For business, keep laptops, chargers, and boarding passes reachable; wear shoes and belts that come off easily.
For families, stow snacks, wipes, medication, and a change of clothes in carry-ons; label items and keep one adult managing documents.
For medical travel, carry prescriptions, doctor notes, and device manuals; declare devices at the checkpoint and separate liquids per rules.
Quick Tips to Avoid Embarrassment and Move Faster
Because airport lines move fastest when you’re organized, prep a few simple things before you reach the checkpoint: put phones and boarding passes in an easy-to-reach pocket, slip belts and bulky jewelry into your carry-on, and have laptops and liquids ready to remove. You’ll move smoother if you follow a few quick habits that avoid awkward stops and delays.
- Remove shoes and place them on the belt.
- Stack electronics and toiletries in one bin.
- Wear simple clothing without metal.
Stay calm, keep pockets empty, and listen to agents. You’ll pass through faster and with less embarrassment.
Frequently Asked Questions
Can I Bring Partially Used Liquids Over 3.4 Oz in Carry-On for Personal Grooming?
No — you can’t bring partially used liquids over 3.4 oz in carry-on. TSA limits individual containers to 3.4 oz (100 ml) in a quart-size bag, so transfer, check larger items, or buy travel-sized products.
Are Rechargeable Battery Packs Allowed in Checked Luggage?
Yes — you can pack rechargeable battery packs in checked luggage, but airlines often restrict high-capacity lithium batteries; you’ll typically need to carry spare lithium batteries in carry-on, and mark or protect terminals to prevent short circuits.
Do TSA Rules Change for Layovers When Reentering Security?
Yes — TSA rules still apply when you reenter security during a layover, and you’ll follow the same carry-on and liquid restrictions. You’ll need to remove items like laptops and liquids again if directed during the screening.
Will Food Heated in Microwave Be Allowed Through Security?
Yes — you can bring food heated in a microwave through security, as long as it’s solid and compliant with carry-on rules; liquids, gels, or soups over 3.4 ounces aren’t allowed, so don’t pack those.
How Do I Declare Prescription Medical Devices at Screening?
You declare prescription medical devices by telling the TSA officer as you approach the screening line, presenting prescriptions or documentation if available, and requesting a private screening if needed; they’ll guide you through inspection and X-ray alternatives.
Conclusion
Now you’re ready to breeze through security. Remove laptops, large electronics, and compliant liquids; take out tablets and e-readers when asked, and keep phones and small devices handy but usually in your bag unless instructed. Empty pockets of metal, take off belts and shoes when required, and have travel documents ready. For busy times, prioritize streamlining your items. Use the printable checklist on your phone so you won’t forget anything and can move faster.