How to Measure Luggage Size Correctly
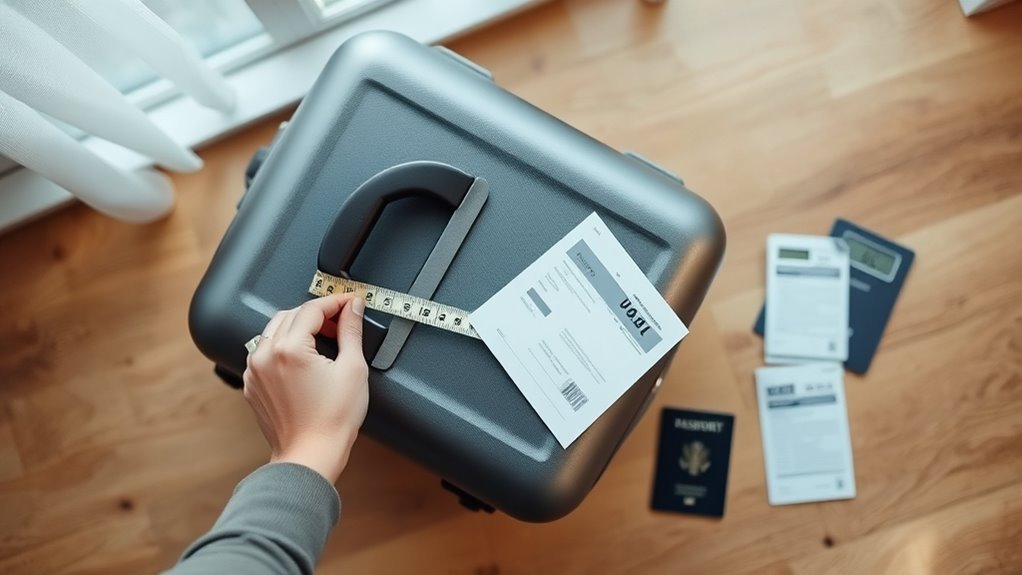
Measure your luggage by its full exterior so you’re sure it meets airline rules: include wheels, fixed handles, external pockets, straps and any bumpers. Use a firm tape measure (or string for curves) and record height, width and depth in inches and centimeters. Measure packed but not overstuffed, collapse or lock telescoping handles as they’ll be during travel, and add the three dimensions for total linear size. Keep these numbers handy and you’ll avoid surprise fees—learn tips to check against specific airline limits.
Quick Answer: Measure Luggage Size in 60 Seconds
Want a fast way to check if your bag fits airline rules? Grab a tape measure. Stand the luggage upright and measure height from wheel bottom to top handle (fully retracted).
Need to check bag size fast? Measure upright from wheel base to fully retracted handle for height.
Measure width at the widest point, then depth including wheels and any pockets. Add those three numbers to get the total linear dimensions if required.
For carry-ons, compare each single dimension to airline limits; for checked bags, compare the combined total.
If any measurement exceeds limits, remove items or use a smaller bag. Note fabric can compress slightly, so measure with the bag packed but not overstuffed.
Why Accurate Luggage Measurements Matter
Because airlines enforce strict size rules, measuring your luggage accurately saves you time, money, and hassle at the airport. You’ll avoid surprise fees, forced repacking, or last-minute gate checks that delay your trip.
Accurate measurements help you choose the right bag for carry-on or checked allowances and prevent damaged items from overstuffed luggage. They also make packing more efficient, so you won’t bring unnecessary extras to meet size constraints.
When you know your bag’s exact dimensions, you’ll book smarter, pick suitable storage, and breeze through check-in. Precise measuring protects your plans and keeps travel stress low.
What Airlines Count: Height × Width × Depth (Exterior)
Now that you know why precise measurements matter, let’s look at what airlines actually measure: the exterior height × width × depth of your bag.
Now that you know why measurements matter, airlines check the bag’s full exterior—height × width × depth, handle to wheels.
You’ll measure the full outer shell—handle stowed, wheels included, any external pockets or straps in place—as airlines size-check the total footprint.
Measure from the highest point to the lowest, side to side at the widest section, and front to back including protrusions.
Don’t guess or trim corners: if it bulges or sticks out, it counts.
Record each dimension in centimeters and inches, and compare them to your carrier’s published limits before you travel.
Tools You Need: Tape Measure, Ruler, and String
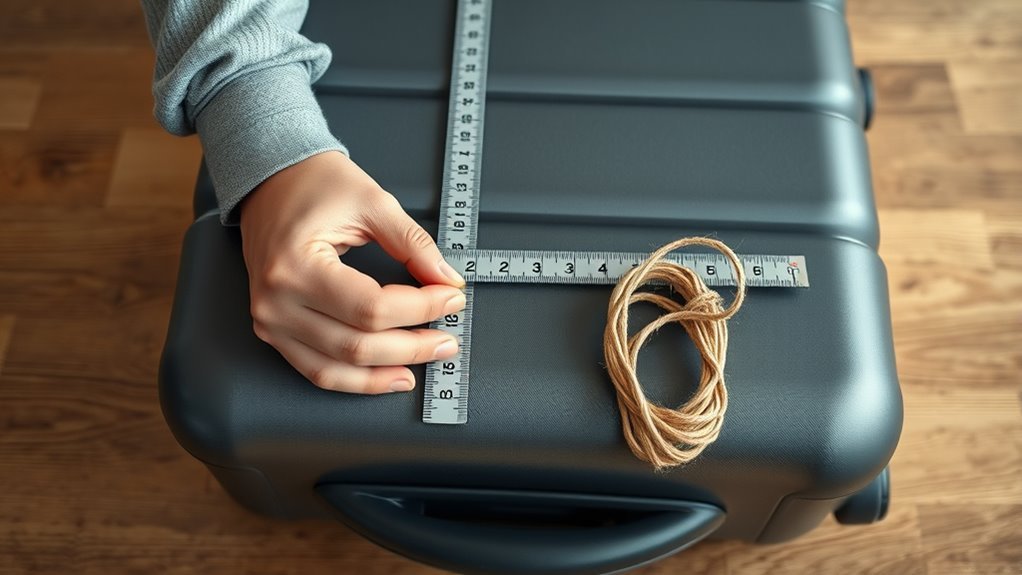
When you’re ready to measure your bag, gather a flexible tape measure, a straight ruler or folding ruler for short, flat surfaces, and a length of string for tracing curves or around wheels and handles.
Use the tape for overall length, width, and depth; it conforms to rounded corners and soft-sided bags.
Use the ruler for short, precise edges like corner-to-corner measurements on hard-shell luggage or for verifying tape placement.
Use the string to follow bulges, handles, and wheels, then lay it flat alongside a ruler or tape to get exact lengths.
Keep a notepad and pen to record measurements.
Step‑by‑Step: Measure Luggage Height Correctly
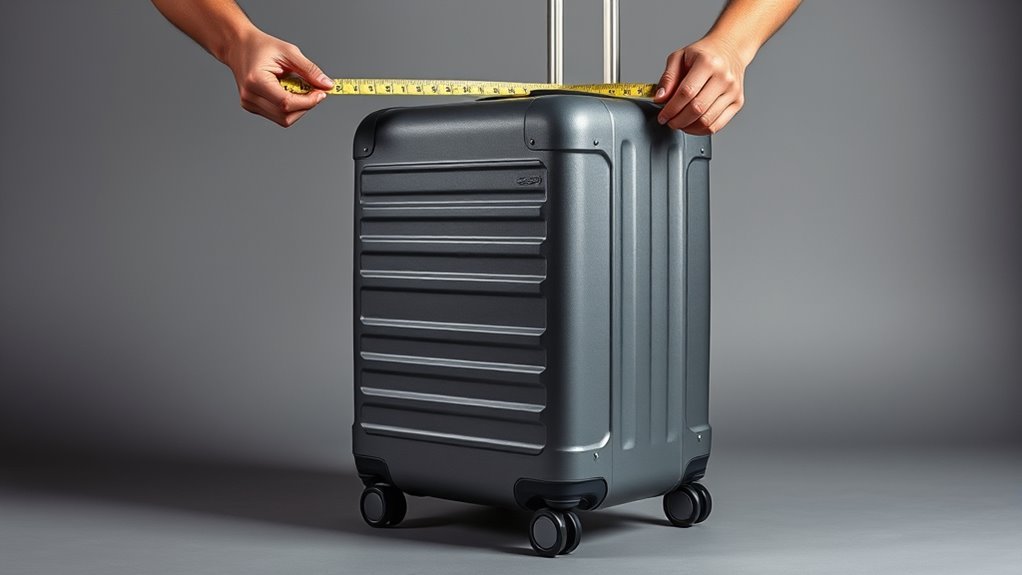
If your bag has wheels and a handle, stand it upright on a flat surface and extend the handle fully so you’re measuring its maximum height.
Place the tape measure from the floor to the highest point, including wheels and handle top.
Place the tape from the floor to the highest point, including wheels and handle tops for accuracy.
Keep the tape straight and perpendicular to the floor, and note the measurement in centimeters and inches.
- Measure from floor to handle tip for total height.
- Record the hard-shell or fabric bulge that adds millimeters.
- Recheck while handle collapsed if airline limits list both extended and stowed heights.
Write down both values for clarity and compliance.
Step‑by‑Step: Measure Width and Depth for Airline Rules
Because airlines base size limits on the bag’s full silhouette, measure width and depth with the luggage standing upright and the wheels and handle in their usual travel positions so you capture the maximum footprint. Place the bag on a flat surface, use a rigid tape, and measure across the widest points for width and from front to back for depth. Record both dimensions and compare to airline limits, rounding up to the nearest centimeter or inch. If pockets or straps protrude, measure to their outer edge. Repeat after packing to confirm compliance.
| Dimension | How to measure |
|---|---|
| Width | Widest side-to-side |
| Depth | Front-to-back |
Include Wheels, Bumpers, and External Handles (What Counts)
Although the fabric shell determines most of your bag’s size, you need to include wheels, bumpers, and any external handles in your measurements since airlines count those protrusions toward the total dimensions. Measure from the outermost points: wheel hubs, protective bumpers, and fixed or retractable handles when extended. Use a rigid tape and keep the bag upright as you record height, width, and depth.
Include wheels, bumpers, and extended handles in measurements—measure from the outermost points with a rigid tape.
Note low-profile wheels differently than oversized spinner casings. Don’t compress or tuck protrusions when measuring.
Follow these quick checks:
- Measure wheels fully extended from casing edge.
- Include bumper thickness on corners.
- Record handle length when locked in use.
Measure Expandable Panels and External Pockets
Once you’ve accounted for wheels, bumpers, and handles, check any expandable panels and external pockets since they can change your bag’s usable dimensions. Unzip and flatten expanders, then measure width, height, and depth both zipped and fully expanded. For external pockets, press them flat and measure projection; some pockets add bulk while others stay negligible. Note zipper overlap and velcro flaps that affect airline limits. Record both folded and extended sizes so you know limits before packing. Use the table below to log quick comparisons.
| Feature | Measurement |
|---|---|
| Expander (zipped) | |
| Expander (open) |
Packed vs. Empty: How to Measure the Bag You’ll Travel With
When you’re measuring luggage for travel, measure it both empty and packed since contents change height, depth, and how expandable panels behave. You’ll get two useful dimensions: the bag’s baseline size and its in-use size.
Pack typical items, zip fully, and place the bag on a flat surface before measuring height, width, and depth. Note bulges from soft items and compression from clothing. Record both sets of numbers so you know what fits airline limits and what won’t.
Pack as you will travel, zip closed, set flat, and measure height, width, depth—note bulges and compression.
- Measure empty for manufacturer specs and carry limits.
- Measure packed for real-world compliance.
- Compare both before traveling.
How to Handle Protruding Telescoping Handles and Side Grips
When measuring, make sure the telescoping handle is in the same position the airline or train allows—fully retracted if required or extended if that’s how you’ll actually travel.
Include any side grips or handles that stick out by measuring from the farthest point they reach.
Record the longest dimensions so you don’t get surprised at check-in.
Telescoping Handle Positioning
Although telescoping handles and side grips can add a few inches to a suitcase’s profile, you don’t have to guess how they affect measurements — always measure with any extended or protruding parts in their most compact, travel-ready position unless an airline or train specifies otherwise.
For telescoping handles, fully collapse them, ensuring locks click and no metal sticks out. Lay the bag flat, measure height from base to top including recessed handle housing, then width and depth at widest points.
If handles wobble, secure them before measuring so readings aren’t inflated by temporary misalignment.
- Collapse and lock
- Measure flat
- Secure wobble
Measuring With Side Grips
You’ve already learned to collapse and lock telescoping handles; now check any side grips or fixed handles that stick out from the case body. Fold or press them flush if possible; measure the luggage including any non-removable grips to reflect true dimensions. If a grip pivots, measure in the position it will occupy during transport. Note any protrusions for airline or shipping limits. Record width, height, and depth with grips extended if they can’t be stowed.
| Component | Action |
|---|---|
| Telescoping | Locked/collapsed |
| Side grip | Stowed or measured |
| Fixed handle | Included in depth |
| Protrusion | Note size |
| Final dims | Record total |
Convert Measurements to Airline Size Limits and Volume
Before you compare your bag to airline limits, record its length, width, and height precisely and note whether measurements include handles and wheels.
Convert those inches or centimeters into the airline’s required units.
Calculate total linear dimensions by adding length + width + height if the carrier uses linear size limits.
For volume, multiply interior length × width × height for a rough cubic measure, then convert cubic inches to liters (1 cubic inch = 0.016387 liters) or cubic centimeters to liters (÷1000).
Use these converted numbers to quickly judge compliance and packing capacity.
- Convert units
- Compute linear total
- Calculate liters
Size Rules by Airline: Carry‑On, Personal Item, and Checked Baggage
Now you’ll compare typical carry-on dimensions so you can check if your bag fits overhead bins.
You’ll also look at personal item size guidelines to make sure your underseat bag is allowed.
Finally, you’ll review checked baggage weight and size limits so you can avoid extra fees.
Carry‑On Dimensions Limit
Airlines set specific carry-on size limits that you’ll need to follow to avoid gate checks or extra fees, and those limits can vary widely between carriers and ticket classes. You should measure length + width + height including wheels and handles, then compare to the airline’s published maximum (often around 22x14x9 inches, but check before you fly).
Weight limits exist on some carriers and regional flights. Pack strategically: hard shells compress less; soft-sided bags may squeeze into sizers.
- Measure with tape from wheel base to top and include protrusions.
- Check airline website and your fare rules.
- Test fit in an overhead bin before travel.
Personal Item Size Guidelines
Because a personal item usually has the strictest, most overlooked limits, you should measure and choose it with care. Measure height, width, and depth including pockets and straps, then compare to your airline’s stated allowance.
Remember soft-sided bags compress differently than hard cases; pack and zip it as you’d travel.
Prioritize essentials—documents, electronics, medication—so the item stays slim.
If you plan to stow it under the seat, test fit under your own seat or a similar one.
Consider weight too, since overstuffing can make boarding slower or trigger gate checks.
Keep measurements and receipts for clarity.
Checked Baggage Weight/Size
When you plan checked baggage, verify both size and weight limits since carriers enforce them strictly and fees can climb quickly. You’ll measure length + width + height, include wheels and handles, and weigh packed bags on a reliable scale. Know domestic versus international limits, and check for overweight or oversized penalties before you leave.
- Measure total dimensions (L+W+H) including protrusions to match airline specs.
- Weigh at home after packing; redistribute items to avoid fees.
- Note airline exceptions (loyalty status, sports gear) and prepay fees when cheaper.
Common Measuring Mistakes That Cause Fees and Gate Checks
If you mismeasure your bag—even by an inch—you can end up paying a surprise fee or getting stuck at the gate. You’ll feel frustrated and rushed when agents remeasure and enforce rules you thought you’d met. Common mistakes: measuring fabric bulges, ignoring wheels/handles, and using soft tape that sags.
| Mistake | Consequence |
|---|---|
| Ignoring wheels/handles | Rejected at check-in |
| Measuring compressed fabric | Appears oversized |
| Rounding up dimensions | Unexpected fee |
| Wrong orientation (height/width) | Gate check |
Measure rigidly: include all projections, use a straight ruler or firm tape, and double-check airline rules before you leave.
Choose Luggage by Measured Dimensions and Travel Style
Once you’ve measured your bags, match those dimensions to how and where you travel so you don’t pay unexpected fees.
If you’re a weekend traveler, choose compact carry-ons.
If you’re packing for long trips or checked baggage, pick larger sizes that still meet airline limits.
Think about purpose—business, adventure, or family—and let that guide the size you buy.
Match Dimensions To Needs
Because different trips demand different capacities, match the bag’s measured dimensions to how you travel rather than to its color or price. You’ll save space, avoid fees, and carry what you need when dimensions reflect your packing style.
Measure external height, width, and depth including wheels and handles, then compare to airline or train limits and your own packing volume needs.
- Carry-on: prioritize slim profiles (usually under 22x14x9) for overhead fit and quick access.
- Weekend: choose compact 40–45L cases that fit layered outfits without wasted depth.
- Extended: pick larger, structured trunks with clear internal compartments.
Consider Travel Purpose
Why are you traveling — business, adventure, or leisure — will dictate the dimensions you need, so choose a bag whose measured height, width, and depth match that purpose.
If you’re on business, pick streamlined carry-on dimensions that fit overhead bins and hold suits without bulky folds.
For adventure trips, prioritize rugged duffels or backpacks with expandable depth and external straps for gear; measure to guarantee they fit roof racks or airline check limits.
Leisure travelers can opt for larger checked suitcases with organized compartments, but verify combined dimensions to avoid oversized fees.
Match measured size to style for efficient packing and fewer surprises.
Pre‑Flight Checklist: Verify Your Bag Before You Go
Before you head to the airport, run a quick pre‑flight check on your bag to avoid surprises at the gate. Verify dimensions, weight, and compliance with your airline’s limits so you won’t pay fines or gate‑check. Confirm wheels and handles work, and zip or latch closures are secure. Place any liquids or electronics where screening is easy. Label the bag with contact info and add a distinctive tag to spot it quickly.
- Measure length, width, height and weigh the packed bag.
- Test handles, wheels, zippers, and locks.
- Stow items for security screening access.
Frequently Asked Questions
Can Luggage Weight Affect Size Limits or Gate Checks?
Yes — airlines can factor weight into gate checks and size limits; if your bag’s heavy or oversized, they’ll gate-check or gate-refuse it, and you might pay fees or need to repack, so check airline policies first.
Do Soft-Sided Bags Compress in Airline Sizers?
Yes — soft-sided bags often compress in airline sizers, so you’ll usually squeeze them in more easily than hard cases; airlines may still reject overly stuffed bags, so pack a bit loosely and check your carrier’s specific rules.
Are International Train and Bus Size Rules Different?
Yes — international train and bus size rules vary by country and operator, so you’ll find different limits, carry-on allowances, and enforcement. Check each carrier’s website beforehand, and measure/compress your bag to avoid surprises.
How Do Airlines Measure Irregularly Shaped Duffels?
Airlines usually measure irregular duffels by the longest length, widest width, and tallest height, including handles and wheels; they’ll compress soft bags if needed, but you shouldn’t exceed posted linear dimensions or they’ll charge oversized fees.
Can Oversized Items Be Pre-Approved by Airlines?
Yes, you can often get oversized items pre-approved; you’ll need to contact the airline, provide dimensions and weight, pay any oversized or special handling fees, and follow their packing and check-in instructions to secure approval.
Conclusion
You’ve got this—measuring your luggage correctly takes a minute but can save you time, money, and stress at the airport. Before you pack, use a tape measure to record the exterior height, width, and depth, compare those numbers to airline limits for carry-on, personal items, and checked bags, and double-check with your carrier’s rules. If your bag’s close to the limit, rethink packing or swap to a compliant bag to avoid surprises. Safe travels!