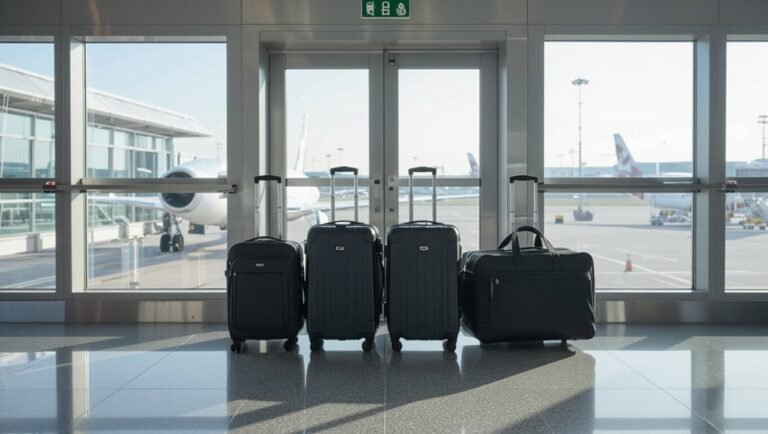
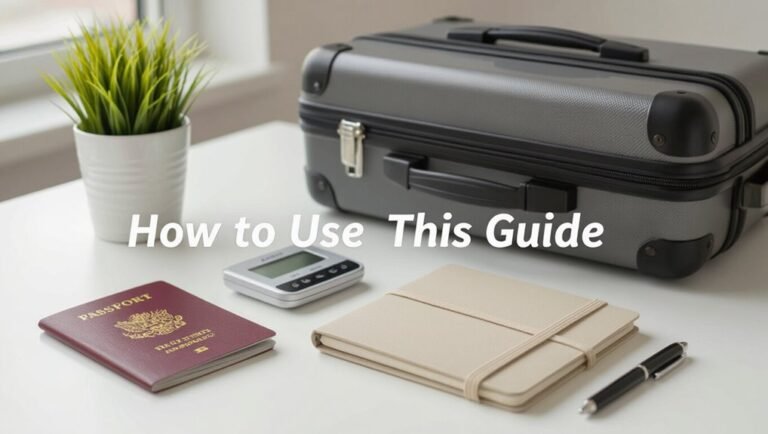
Can Cracked Luggage Be Repaired Before Flying?
You can often repair cracked luggage well enough to fly, especially for surface or corner cracks—use strong adhesives, epoxy, tape, or straps to stabilize shells and seams, cushion fragile items inside, and reinforce handles or zippers with zip ties or replacement straps. Deep splits or structural failure usually mean replace or buy a cheap temporary bag to avoid loss. Check your airline’s policy before check-in, and keep tools and tape handy if you want more repair options.
Can a Cracked Suitcase Be Fixed Before a Flight?
Can you patch a cracked suitcase before you fly? You can often apply temporary fixes: strong adhesive for shell cracks, epoxy for hard plastics, or duct tape for seams.
Reinforce weak handles and zippers with cable ties or replaceable straps. Test stability and keep fragile items cushioned.
These measures’ll keep you going to the airport, but they’re short-term—inspect again before checked baggage.
Quick Triage: Fix, Replace, or Buy a Backup
If your suitcase cracks shortly before travel, act fast: assess the damage, weigh repair options against cost and time, and decide whether a temporary fix, a full replacement, or buying a cheap backup for the trip makes the most sense.
You’ll balance practicality, budget, and stress—choose what keeps your plans intact.
- Frustration at lost time
- Relief with a quick fix
- Anxiety over failure
- Pride in a smart buy
- Calm from a solid backup
How to Assess the Type and Severity of the Crack
Start by checking exactly where the crack is—near a corner, along a seam, or on a panel—as location affects repair options.
Then look at how deep and long the crack is: surface hairlines might be repairable, while deep splits or gaps that expose the interior are more serious.
Use those observations to decide whether a quick patch, professional repair, or replacement is needed.
Inspect Crack Location
When you inspect the crack location, focus on where it sits relative to the luggage’s structure—shell panels, corners, seams, handles, or wheels—as that tells you what failed and how severe the damage is.
You’ll note stress patterns, nearby hardware, and whether the crack compromises closure or mobility.
- Frustration at a corner split
- Worry over hinge damage
- Relief if cosmetic
- Anger at wheel failure
- Anxiety about seam gaps
Evaluate Crack Severity
Now that you’ve noted where the crack sits, assess how deep and extensive it is to determine repair options. Press around edges, check for flex, and decide if it’s cosmetic, structural, or a seam failure. If unsure, test with light weight. Faster fixes suit surface cracks; deep splits need pro repair or replacement.
| Shocked | Worried | Relieved |
|---|---|---|
| Small | Medium | Large |
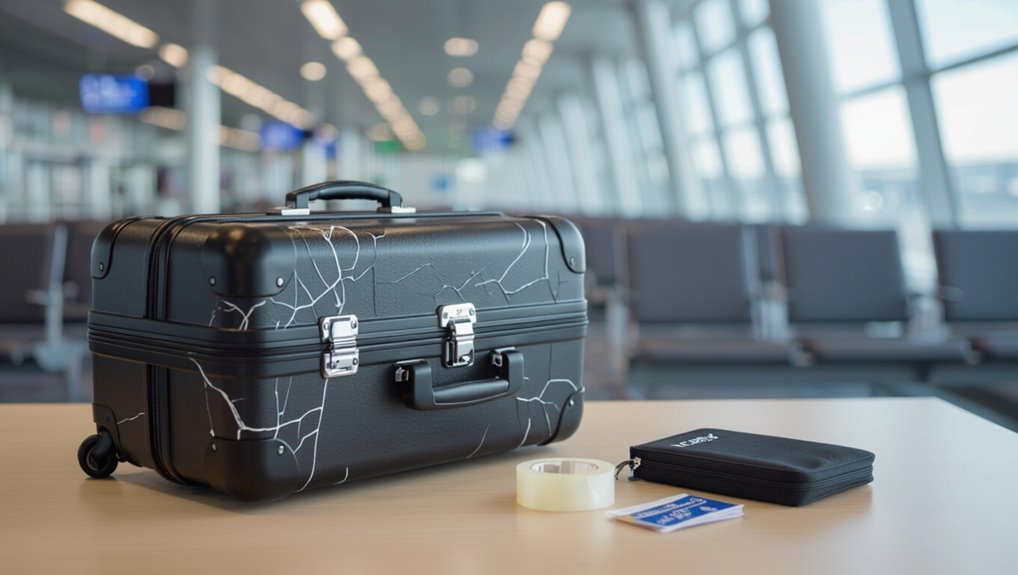
Carry-On Repair Kit: Tools & Materials to Bring
Anyone can get stranded at the gate with a cracked wheel or a loose zipper, so pack a compact carry-on repair kit that covers the most common issues: a multi-tool with screwdrivers and pliers, a roll of heavy-duty duct tape or self-fusing silicone tape, a few spare screws and rivets, a luggage strap, zip ties, a sewing kit with heavy nylon thread and leather needles, superglue or epoxy, and adhesive luggage patches.
- Relief when seconds count
- Confidence boarding smoothly
- Calm during unexpected damage
- Pride in self-reliance
- Joy of uninterrupted travel
Quick Fixes in Under 10 Minutes
If you find a crack on the go, you can create a quick temporary patch with strong tape to keep contents from spilling.
Slide a cut piece of cardboard inside the shell and tape over the crack to reinforce the area and distribute pressure. These two moves take under ten minutes and can get you to your next stop without a bigger failure.
Tape Temporary Patch
When you’re rushing to catch a flight and spot a crack in your suitcase, a tape temporary patch can buy you time and keep your bag functional; it’s fast, simple, and requires only a few supplies.
Clean edges, press firmly, and layer waterproof tape both inside and out for strength.
Pack gently and seek permanent repair later.
- Relief
- Confidence
- Urgency
- Comfort
- Hope
Reinforce With Cardboard
Grab a piece of sturdy cardboard and a utility knife — you can reinforce a cracked suitcase in under 10 minutes by cutting a patch that fits snugly behind the damaged area.
Slide the patch inside, align edges, and secure with strong packing tape on both sides.
Press firmly, trim excess, and test the shell.
It buys time until proper repair or replacement.
Fix Small Cosmetic Cracks in Hard-Shell Cases
Though small cosmetic cracks won’t ruin a trip, you can easily improve your hard-shell case’s look and prevent further damage with a few simple fixes.
Use epoxy or superglue for hairline breaks, sand and paint for scratches, and add a protective film or bumper strips. Press firmly, let cure, and test before packing.
- Relief knowing it’s patched
- Pride in a neater case
- Confidence at check-in
- Reduced worry while traveling
- Joy in prolonging its life
Reinforce Split Seams and Zipper Areas on Soft Bags
If a seam starts to split or the zipper area looks stretched, act quickly to reinforce it before the damage grows.
You can sew torn seams with heavy-duty polyester thread, add fabric patches inside using strong adhesive or stitch-on patches, and replace or reinforce zipper stops.
Use a small sewing kit or a portable zipper repair kit at the airport to prevent further tearing during travel.
Repair Large Polycarbonate and ABS Shell Cracks
Large cracks in polycarbonate or ABS shells can often be fixed rather than replaced, but you’ll need the right materials and a steady hand.
Assess damage, sand edges, use plastic welding or epoxy, clamp until cured, then finish with filler and paint to restore strength and appearance.
- Relief when repair holds
- Pride in saving gear
- Anxiety about airport checks
- Satisfaction at a clean finish
- Hope for another trip
Temporary Seals for Wheels, Handles, and Corners
Once the shell is patched, you’ll want quick fixes for wheels, handles, and corners to keep your case usable en route. Use duct tape wraps, zip-tie bracing, and foam padding to stabilize parts. Check tightness before travel and avoid overloading.
| Area | Quick Fix | Duration |
|---|---|---|
| Wheel | Tape+zip tie | Short |
| Handle | Foam+wrap | Short |
| Corner | Reinforce tape | Short |
| Hinge | Zip tie | Short |
Epoxy & Fiberglass: Step-by-Step Shell Repair
Start by evaluating how deep and widespread the crack is so you know whether a patch will hold.
You’ll prep the surface by cleaning, sanding, and removing loose fragments to help the bond.
Then mix and apply epoxy with fiberglass cloth in layers, letting each layer cure before sanding smooth.
Assess Damage Extent
Think of the repair process like a medical exam: you’re diagnosing the shell before you mix epoxy or cut fiberglass.
You’ll inspect crack depth, spidering, separation, and surrounding stress points, then decide if repair will hold.
Be honest—some damage needs replacement.
- fear of failure
- relief at salvageable parts
- frustration with hidden damage
- hope for a smooth flight
- pride in a restored case
Prep Surface Carefully
Prepare the area thoroughly before you mix epoxy or lay fiberglass: clean away dirt, grease, and loose fragments, sand the edges of the crack to create a uniform bevel or feathered profile, and mask surrounding hardware and fabrics to keep products off them.
Remove dust with a tack cloth, roughen adjacent shell for adhesion, and make certain surfaces are dry and stable so repairs bond cleanly and won’t trap moisture.
Apply Epoxy And Fiberglass
Mix the epoxy according to the manufacturer’s ratio, then apply a thin tack coat into the bevel to seal fibers and gaps before you add the fiberglass layers.
You’ll lay successive cloth pieces, saturate each, smooth bubbles, and feather edges until the repair matches the shell profile.
Cure fully, sand, and finish to restore strength and appearance.
- Relief
- Confidence
- Pride
- Calm
- Satisfaction
Best Glues, Tapes, and Adhesives for Airline Handling
When you need a quick, reliable fix for cracked luggage after airline handling, choosing the right glue or tape matters for strength, flexibility, and airport security checks.
Use waterproof polyurethane or flexible epoxy for hard-shell tears; silicone sealant for seams; heavy-duty cloth tape or TSA‑friendly self-fusing silicone tape for temporary reinforcement.
Avoid solvent-based glues that weaken plastics and choose products with good gap-filling and vibration resistance.
How to Test Repaired Luggage Before Checking It
Before you head to the airport, inspect the exterior seals and seams for gaps or sticky residue so nothing will pop open mid-transport.
Then simulate travel conditions by rolling the suitcase, lifting it by the handles, and tossing it gently onto a hard surface to check for stress at the repair points.
If the seals hold and the repairs don’t shift, you’re likely safe to check the bag.
Inspect Exterior Seals
Inspecting exterior seals is a quick way to confirm your repair held up under strain and that your bag will keep out moisture and dirt during travel.
Run fingertips along seals, look for gaps, and press repaired joints. If anything flexes or squeaks, fix it before flying.
- Relief when seams feel solid
- Confidence seeing clean joins
- Annoyance at tiny gaps
- Urgency to re-seal
- Pride in a secure bag
Simulate Travel Conditions
Once your seams and seals feel solid, put the repaired bag through real-world stresses to make sure repairs hold up on the road.
Fill it with typical items, add weight to match airline limits, zip and latch repeatedly, tilt and roll it, and drop it gently from waist height onto different surfaces.
Check for new cracks, loose hardware, or split seams before flying.
Packing Tricks to Protect Contents in a Damaged Case
Even if your hard shell has a crack, you can still pack smart to keep things intact: use clothing as cushioning, seal liquids in zip bags, wrap fragile items in layers, place heavy items near wheels, and compress with soft items to stabilize.
- Hugging sweaters for comfort
- Bottles sealed, worries eased
- Fragile wrapped like treasures
- Weight anchored, confidence restored
- Soft fills, calm journey
Airline Rules: Will Carriers Accept Damaged Luggage?
Curious whether airlines will accept a cracked suitcase? You’ll find policies vary: some carriers allow slightly damaged bags if they’re safe and won’t spill contents, while others may refuse check-in for heavily cracked shells.
Always inspect airline guidelines, declare visible damage at check-in, and expect staff to assess suitability.
If denied, you’ll need alternate baggage or repair before flying.
Should You Repair or Replace? Cost-Benefit Checklist
If the shell’s crack is cosmetic or small and you can fix it cheaply, repair makes sense; but when damage affects structure, security, or ongoing costs approach replacement price, it’s smarter to buy new.
You’ll weigh safety, cost, and stress — choose what keeps your trips smooth.
- Frustration from repeated fixes
- Relief with a secure case
- Pride in a restored bag
- Anxiety over hidden damage
- Satisfaction buying durable replacement
Buy Cheap Temporary Luggage or Invest in a Durable Case?
Thinking short-term or long-term? You’ll weigh urgency, budget, and trip length.
A cheap temporary bag gets you to your destination but may fail and offer poor protection. Investing in a durable case costs more upfront, reduces stress, and saves replacements over time.
Choose temporary for one-off emergencies; pick durable if you travel often, carry fragile items, or want peace of mind.
Quick Decision Flowchart: Should You Fly With Cracked Luggage Today?
You’ve weighed temporary fixes versus a durable replacement; now make a fast, practical call for today’s trip.
Check damage, flight length, valuables, repair time, and gate-check rules. If risk feels high, don’t fly with it.
- Panic at lost items
- Relief with a sturdy swap
- Frustration over last-minute repair
- Regret after damaged souvenirs
- Calm when you choose safety
Frequently Asked Questions
Can Luggage Cracks Void My Warranty or Future Claims?
Yes — cracked luggage can void warranties or weaken future claims. You’ll need to check your warranty terms, report damage promptly, and avoid unauthorized repairs; otherwise the manufacturer or insurer may refuse coverage or deny reimbursement.
Will TSA or Security Screenings Damage DIY Repairs?
Yes — TSA screenings can stress or damage DIY repairs, especially brittle adhesives or temporary patches. You should reinforce fixes with durable materials, hide weak seams, and expect inspectors to open and handle repaired luggage during checks.
Can Repaired Luggage Be Gate-Checked or Stowed in Overhead Bins?
Yes — if your repair’s sturdy and meets size limits, you can gate-check or stow repaired luggage in overhead bins; just secure loose parts, label it fragile if needed, and be ready for extra inspection or refusal by airlines.
Are Specific Destinations More Strict About Damaged Baggage?
Yes — some countries and airlines enforce stricter rules about damaged baggage, so you’ll face tighter inspections, potential refusal to check, or extra fees; always check your carrier’s policy and the destination’s aviation or customs guidance beforehand.
How Does Climate (Heat/Cold) Affect Repair Durability?
Heat softens adhesives and plastics, so repairs can weaken; cold makes materials brittle, risking cracks. You should choose temperature-rated glues, cure repairs per instructions, and avoid extreme temps during and after fixing for best durability.
Conclusion
You can usually fix minor cracks well enough to fly, so don’t panic. Triage quickly: assess crack type, patch or reinforce with tape, epoxy, or a plastic splint from your carry-on kit, or transfer belongings to a cheap temporary bag. Check airline rules—most accept superficial damage but not structural failure. If repair’ll hold for one trip, do it; if not, replace the case. Make a quick, practical call based on time, cost, and safety.