How to Open a 3 Digit Combination Lock on Luggage
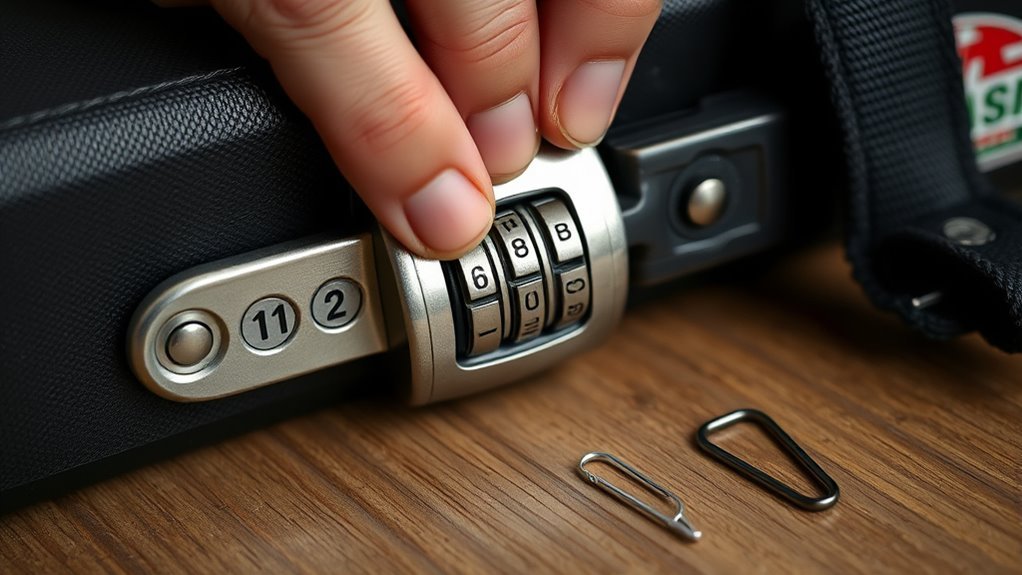
If you’ve forgotten a 3‑digit luggage code, start by trying common defaults like 000 or 123, then apply steady tension to the shackle and slowly rotate each dial while feeling for tiny clicks or resistance that indicate alignment. Jiggle the shackle gently as you turn, scan dials for wear marks or gaps with a light, and systematically try nearby numbers if you sense give. If that fails, there are reset steps, TSA tips, and next actions to explore.
Diagnose: 3‑Digit Luggage Lock – Forgotten Code or Jam?
If your luggage lock won’t open, start by diagnosing whether it’s a forgotten code or a mechanical jam.
First, check the dials for partial alignment or worn numbers—smooth rotation usually means the code’s off; stiff, uneven movement suggests a jam.
If the dials spin smoothly, you likely have the wrong code; stiff, uneven wheels point to a jam.
Listen as you turn each wheel; clicks or grinding hint at internal obstruction.
Inspect the shackle and surrounding frame for debris, bent metal, or corrosion that blocks release.
Try gentle wiggling while dialing to detect resistance changes.
Note any previous resets or damage from impact.
Identifying whether it’s user error or a physical fault guides your next move.
Do This First: Fastest Fixes to Try Right Now
Now that you’ve checked whether the problem’s a wrong code or a mechanical jam, try a few quick fixes that often get the lock open without tools. Start calm, avoid forcing anything, and work through short, targeted moves that resolve common hiccups.
- Jiggle each dial gently while pulling the shackle to feel for a subtle click that indicates alignment.
- Apply steady tension to the shackle and rotate dials one number at a time; a slight give often reveals the correct position.
- Tap the lock lightly or flick the shackle while feeling for tiny shifts that free stuck tumblers.
If none work, proceed to deeper checks.
Check Basics: Default Code, Dials, and Shackle
Because most luggage locks come set to a factory default, start by checking that first—look for a sticker, tag, or the lock’s manual for the standard three-digit code (commonly 000 or 123). Next, align the dials precisely; feel for a subtle click as each digit seats. Inspect the shackle: if it’s slightly open or depressed, you can pull it gently while turning digits. If nothing works, try small variations around the default. Use this quick reference to stay organized:
| Item | Action | Tip |
|---|---|---|
| Default | Check sticker/manual | Try 000, 123 |
| Dials | Rotate to clicks | Go slowly |
| Shackle | Pull while turning | Light pressure |
| Notes | Try nearby combos | Stay patient |
Quick Reset: Reset Methods for Forgotten Combinations
When you can’t remember your luggage combination, try reset methods that are quick and safe. First, check the lock’s reset pin or lever—many models require the shackle to be pulled up or a tiny hole pressed with a paperclip while you set a new code.
If that fails, consult the manufacturer’s instructions or website for model-specific steps. Before locking, confirm the new code several times.
- Inspect underside or interior for a reset switch.
- Use a slender tool to engage the reset mechanism per instructions.
- Record the new code in a secure place immediately.
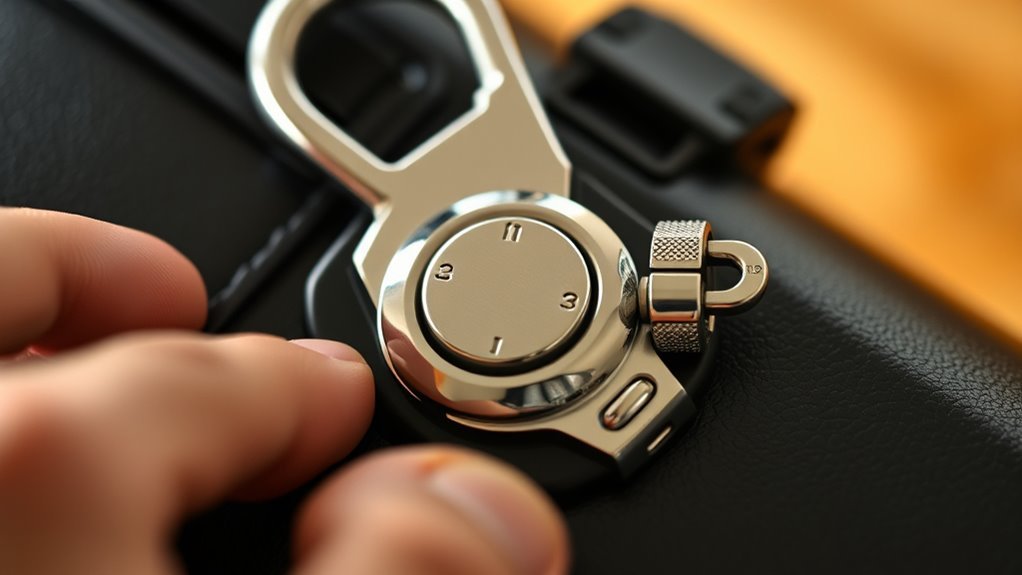
Tactile Method: Feel for Notches and Subtle Clicks
You’ll run your fingers over each dial to feel for subtle resistance that hints at the correct position.
Listen closely for faint clicks as you slowly rotate each wheel, since those sounds often mark the notches.
Trust your sense of touch to detect tiny notches that aren’t obvious to the eye.
Feel For Resistance
If you run your fingers slowly along each dial while applying gentle forward pressure to the shackle, you’ll feel tiny increases in resistance or subtle clicks where the internal notches align. Use that feedback to identify the correct digits one dial at a time.
Keep movements slow and consistent so you don’t miss faint changes. When you notice a slight catch, pause and test neighboring numbers to confirm the strongest resistance.
Try these focused steps:
- Roll each dial forward slowly, noting where pressure increases.
- Hold the shackle forward while testing adjacent digits for comparison.
- Lock in confirmed digits before moving to the next dial.
Listen For Clicks
Although it’s subtle, you can often hear tiny clicks as each dial’s internal notch falls into place.
So press the shackle forward and slowly rotate each wheel while listening and feeling for those small, distinct sounds and sensations.
Move each dial one number at a time, pausing briefly at each position to catch a faint click or change in vibration.
Work methodically through the three dials, noting which positions yield a clearer click.
Keep pressure consistent so the mechanism engages.
If a click’s unclear, back off slightly and try adjacent numbers until the pronounced sound confirms alignment.
Sense Subtle Notches
While keeping steady forward pressure on the shackle, run your fingertips lightly over each wheel and rotate them one click at a time to feel for tiny notches and subtle changes in resistance. You’ll detect slight catch points where the locking pawl aligns.
Work each wheel separately, returning to earlier wheels as later settings can alter feedback. Be patient and methodical.
- Move wheels slowly, noting any hesitation or smoother movement.
- Use the pad of your finger, not the nail, for consistent sensitivity.
- Mark likely digits mentally, then test combinations with minimal adjustments.
Trust touch; small differences reveal the opening sequence.
Use Light: Flashlight/Backlight to Read Wheel Alignment
Grab a bright flashlight and shine it along the edge of the wheels so you can spot tiny gaps and the true alignment.
Tilt the light to cast shadows across each number for clearer contrast, and you’ll see which digit lines up.
If the lock’s design allows, hold the light behind the wheels to backlight the numbers and confirm the correct positions.
Use a Bright Flashlight
If the digits seem off or the grooves are worn, shine a bright flashlight (or use your phone’s backlight) along the lock’s face to reveal subtle alignment marks and shadows between the wheels. You’ll catch tiny notches, paint wear, or thin gaps that tell you which numbers line up. Hold the light steady and scan each wheel slowly, noting any irregularities.
Use a finger to feel for micro-steps as you rotate.
- Inspect each wheel for wear patterns.
- Note tiny paint chips or indentation points.
- Mark suspected numbers mentally before testing them.
This method speeds accurate dialing without guessing.
Angle Light For Shadows
Because small shifts in angle can reveal tiny gaps and paint wear, tilt a bright light across the lock’s face so you can see shadowed edges where the wheels meet. Position the beam low and skim across each wheel, rotating it slightly to catch any unevenness.
Look for tiny step lines or dark slivers that indicate a wheel’s true alignment. Work one wheel at a time, noting where shadows change as you nudge numbers.
Keep your hand steady and repeat the sweep after small adjustments. Stop when all three wheels show consistent shadow lines that suggest the correct combination.
Backlight Through Wheels
When you hold a bright flashlight behind the lock and look through the wheel gaps, the numbers’ true alignments often become visible as thin lines or spaces where light leaks through. You can use that subtle glow to spot the correct digits.
Position the light so it shines evenly, rotate each wheel slowly, and watch for consistent shafts or tiny notches that let light pass at the real combination.
- Shine steady light from behind, not too close.
- Rotate wheels slowly, noting any sudden light changes.
- Mark probable digits, then test combination carefully.
This method’s precision beats guessing.
Systematically Test Nearby Combinations (Safe Steps)
Although you’ve already tried the obvious numbers, start shifting each dial one step at a time and testing the lock after every small change. Work methodically: change the first dial one click, test; reset if needed, then advance the second dial one click, test; repeat with the third.
Record combinations you test to avoid repeats. If you hit a stop or feel a subtle give, linger and test neighboring numbers. Move in a consistent direction (up or down) to keep track.
Stay patient and systematic—this focused, local search often uncovers nearby correct settings without exhaustive scanning.
Efficient Brute‑Force Scan for 3‑Digit Locks
When brute‑forcing, you’ll want a clear dial order so you don’t repeat combinations or miss any sequences.
Use time‑saving shortcuts like skipping patterns that you’ve logically ruled out and focusing on likely ranges first.
Keep a quick record of tried combos so you can pause and resume without wasting time.
Systematic Dial Order
If you’re going to try every combination on a standard three‑digit luggage lock, pick an order that minimizes wasted movements and keeps track of what you’ve tested; we’ll describe a systematic dial sequence that does exactly that.
You’ll hold the lock steady, move one wheel at a time, and record progress so you don’t repeat numbers. Start with a fixed first digit, cycle the second through 0–9, and advance the third after each second-digit cycle. That keeps wrist motion minimal and checks every combo methodically.
- Fix first wheel, iterate second
- Cycle third fastest
- Mark completed sets as you go
Time‑Saving Shortcuts
Because every extra turn adds time, you’ll want to cut redundant moves and exploit patterns that let you test combos faster; for example, focus on minimizing wheel rotations by advancing only the wheel you need and using short, consistent gestures so you can keep a steady rhythm and avoid rechecking numbers.
Work through digits in an order that reduces carryover—change the last wheel fastest, then middle, then first.
Use tactile feedback to confirm each wheel settled before moving on.
When a sequence fails, reverse a single wheel rather than resetting all.
Stay patient, avoid needless precision, and keep your motions economical.
Recordkeeping For Progress
Although brute‑forcing a 3‑digit lock is repetitive, keeping a clear record of tested combinations prevents wasted effort and makes the scan systematic. You’ll save time and avoid repeats by logging each attempt and noting patterns or skips. Use a simple, consistent method so you can resume after interruptions and check progress at a glance.
- Start at 000 and mark each trio as you test it.
- Group numbers in tens or hundreds to track coverage quickly.
- Cross off tried combos on paper or a small app to avoid duplicates.
Be disciplined: accurate records cut total attempts and frustration.
Opening TSA‑Approved 3‑Digit Locks Without Damage
When you need to open a TSA‑approved 3‑digit lock without damaging your luggage, start by confirming it’s truly a TSA lock—look for the red diamond logo—and check whether you’ve recorded the combination anywhere.
If you haven’t, try the simple tactile method: apply gentle tension to the shackle while slowly rotating each dial from 0 to 9; you’ll feel or hear slight clicks when a dial hits the correct number. Move sequentially, keeping steady pressure.
Once all three align, the shackle will release. If that fails, contact the airline or TSA for assistance rather than forcing or cutting the lock.
If the Lock Is Physically Stuck or Broken
If your TSA‑approved 3‑digit lock is physically stuck or the mechanism is broken, don’t force it—assess the problem first by checking whether the shackle won’t move, the dials spin freely without clicking, or a dial is jammed between settings.
You can try simple fixes before escalating: gently apply graphite lubricant into the dial slots, tap the lock lightly while turning the dials to free internal catches, or use a thin pick to feel for the locking pawl.
If none work, stop and secure your luggage to prevent further damage.
- Try graphite or compressed air
- Tap and rotate dials gently
- Probe cautiously with a thin tool
When to Call the Manufacturer, Seller, or a Locksmith
Because you’ve tried basic fixes and the lock still won’t open, it’s time to contact the manufacturer, seller, or a locksmith to avoid further damage or voiding warranties. Call the manufacturer if the lock is under warranty or the model has known reset procedures. Contact the seller for recent purchases or return policies. Hire a licensed locksmith for urgent access, complex mechanisms, or when paperwork proves ownership. Have model numbers, purchase proof, and photos ready. Use the table below to picture choices and info to gather before calling.
| Who to call | When to call | What to prepare |
|---|---|---|
| Manufacturer | Warranty/known issue | Model, photos |
| Seller | Recent purchase | Receipt, order |
| Locksmith | Urgent access | ID, proof |
Temporary Security Fixes and Prevention Tips for Next Time
Although you mightn’t get a perfect repair on the spot, you can secure your luggage enough to travel home or to a repair shop: use a short zip tie, a luggage strap, or a small padlock looped through the zipper pulls to keep contents contained.
Then use quick fixes and habits to prevent repeats. Carry a tiny repair kit and note your lock code in a secure app. Consider replacing worn locks and labeling luggage externally.
Useful tips:
- Use tamper-evident zip ties until you can replace the lock.
- Keep a backup strap in checked bags.
- Store combinations in a password manager.
Frequently Asked Questions
Can a Lost Receipt or Proof of Purchase Help Unlock Luggage Locks?
Yes — if you can show ownership, a lost receipt or proof of purchase can help; you’ll need to present ID and documentation to the manufacturer, retailer, or security, and they may assist in opening or replacing the lock.
Will Airport Security Open My Lock if I Arrive With a Locked Bag?
Yes — if your bag’s locked, airport security or TSA agents may open it during screening; they’ll try to contact you, but they’ll cut or force locks if necessary for inspection, and they won’t be liable for damage.
Is It Legal to Force a Lock Open on My Own Luggage?
Yes, it’s generally legal to force open your own luggage, but you’ll risk damaging it and possibly voiding warranties; if you’re traveling, consider asking airline or security staff for assistance to avoid complications and evidence issues.
How Do I Reset a TSA Key Lock if I Don’T Have the Key?
You can’t legally reset a TSA key lock without the key; you’ll need to contact the manufacturer or a locksmith, provide proof of ownership, or replace the lock. Don’t attempt forced tampering that could damage your luggage.
Can Luggage Locks Be Replaced Without Removing the Zipper Pulls?
Yes, you can often replace luggage locks without removing zipper pulls; you’ll thread the pull through the new lock’s shackle or use a shackleless replacement, but check compatibility and be careful not to damage fabric or teeth.
Conclusion
You’ve got options, and you’re not stuck. Try the basics first—default code, jammed dials, tug the shackle while spinning—then try reset or tactile methods to find notches. Use TSA‑approved override or call the manufacturer if you must; avoid destructive hacks unless it’s the only way. If it’s broken, get a locksmith. Secure your bag next time by noting the code, using a backup, and testing the lock before travel.